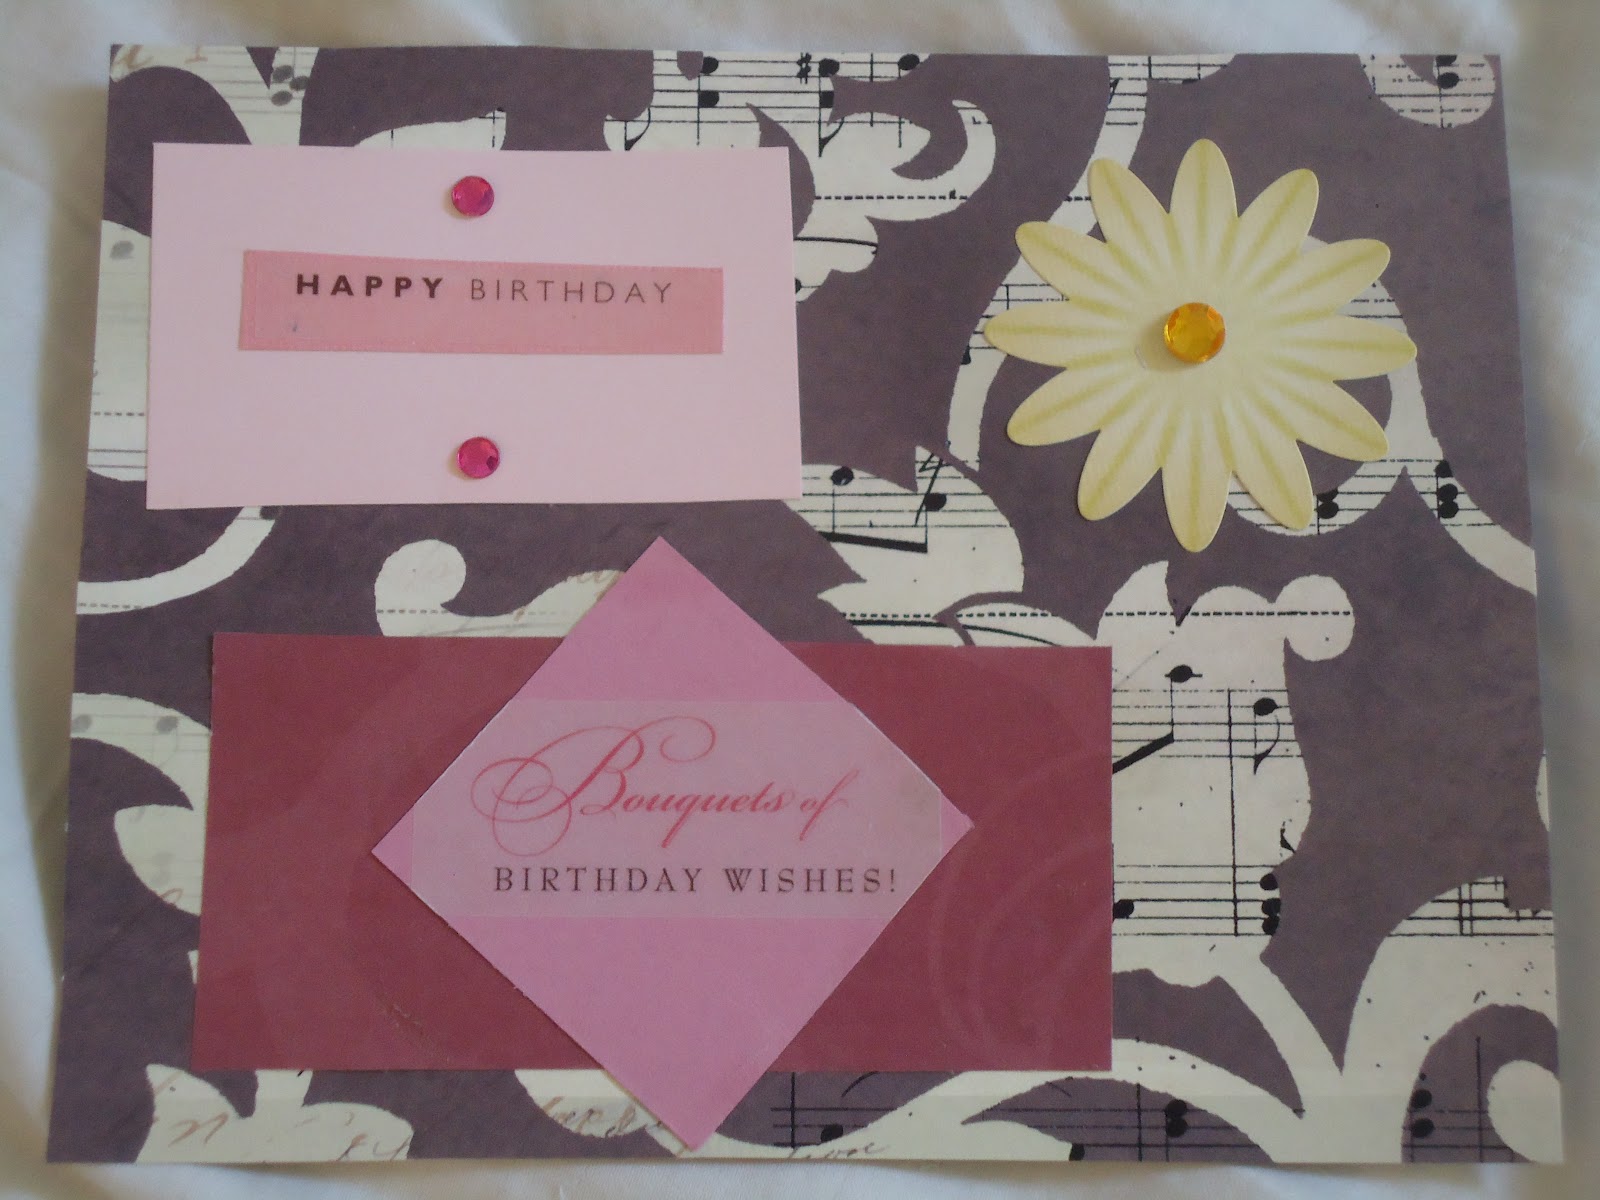
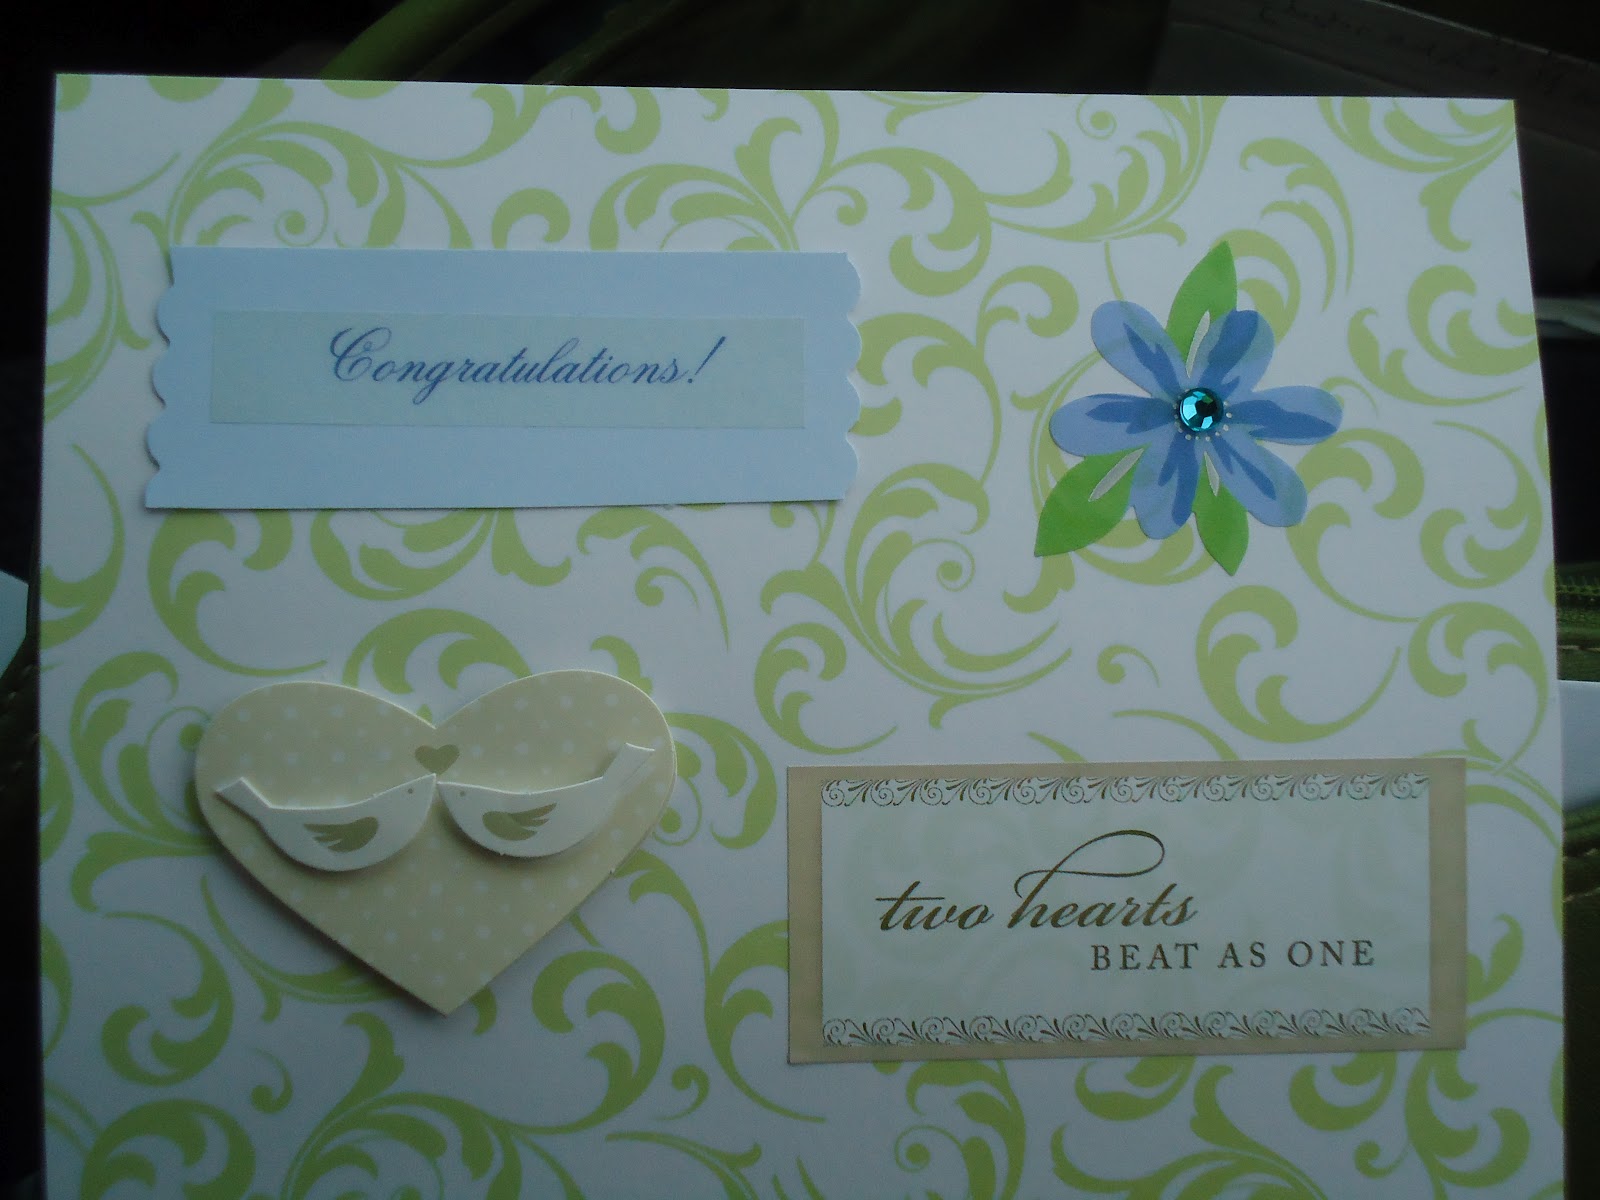
I thought I'd put up a quick and easy project that only took a little bit of time, took very little money, and made my house look prettier.
So having an almost two year old leaves the problem of having toys all over the house. I could keep them in her room, but her room is upstairs and we spend most of our time in the living room downstairs. We had her toys in boxes out in the open but they just looked cluttered... we finally moved the boxes to behind the couch and moved the couch away from the wall so she has a little bit of a play area behind there. It makes the room look so much less cluttered storing them out of the way and she can still easily get at them.
She does have little toys which don't work well in boxes because they get lost in the bottom and the pieces get separated and then she never plays with them. So I came up with a cheap solution. I eat oatmeal everyday... I hate oatmeal, but it's for my cholesterol... so I continually have a surplus of empty oatmeal containers. Well, I started storing her little toys, like her tea set, her legos, and puzzle pieces in these oatmeal containers. I discovered they fit perfectly on the bottom shelves of our book shelves... (we're big book people... so have lots of book shelves all over the house). But people would kind of look at us funny, seeing rows of oatmeal containers sitting out, so I solved that problem with this little craft.
I started with an empty oatmeal container. I peeled the paper off.
I cut scrapbook paper to fit my container. I had to use about one and a half sheets per container to cover the whole thing.
I put a layer of Mod Podge onto the oatmeal container to stick the paper to it. I smoothed out the paper as best as I could, and then covered the paper with another layer of Mod Podge.
I let dry and I loved how they turned out. I picked colors to kind of match my living room and I think it looks so pretty in a neat row on the shelf. So much better then a row of oatmeal containers!!
I did have one little issue, the paper bubbled a little bit in places, but I've never used Mod Podge before, so anyone have any tips to get rid of this issue in the future?
I loved this project, it was easy to do while watching tv, and cheap too. We'll see how long they stand up to a two year old, but if I have to make more, I have plenty more oatmeal containers and paper so that I can quickly replace any that get too beat up.
Showing posts with label paper products. Show all posts
Friday, May 3, 2013
Friday, August 17, 2012
Card Series: Post 14
So apparently I missed a week. I spaced it out completely. I think we'll be winding down the card posts for a bit. Maybe one more post next week and then I'll take a break with some random crafts for a bit. We'll see where we go from there. This week's card post is largely themed from father's day and is dedicated to my dear husband who got to celebrate his first one this year. Thanks honey for being such a great daddy to our little girl!
See you next week!
| Birthday |
| Father's Day |
| Father's Day |
| Birthday |
| Father's Day |
See you next week!
Monday, August 6, 2012
Card Series- Post 13: Colors and Patterns
Another thing to think about when making a card is how the different colored and patterned paper coordinate together. One thing to avoid is having too many loud patterns going on at once. It becomes too much too look at and can make you a bit dizzy. On the other hand, too many plain colors can be very bland and boring. One thing you have to consider also is having a light enough background underneath your sticker to be able to read the words. Often times I will put a light color or subtle pattern underneath a quote and then cut out a brighter slightly larger shape to help frame it. If my main card background is bright and loud, I will usually use more solid colors and subtle patterns for the other pieces. If the background is lighter or more plain, I will make the other pieces with bright pops of color or loud patterns. It's just playing with the balance while still making it interesting to look at.
Do you have a favorite color or pattern that you love to use? Stripes, zebra, flowers, or chevron? Or how about pinks, blues, or purples?
Come back next week to see more cards!
| Birthday - Mother |
| Birthday |
| Welcome Baby |
| Mother's Day |
| Mother's Day |
Do you have a favorite color or pattern that you love to use? Stripes, zebra, flowers, or chevron? Or how about pinks, blues, or purples?
Come back next week to see more cards!
Saturday, July 28, 2012
Card Series - Post 12: Creativity
There are times when I am looking to say something particular or am wanting a specific picture or pattern but have no supplies which fit my idea.
For example in the 3rd card in this post, the particular person that I was making the card for really liked the chevron pattern, and I had nothing of the sort in my stash. I went online and found a free printable: Chevron Free Printables by Mel Stampz (Thanks pinterest!) I printed it out and used it as a background. I totally loved how it came out and since I printed a whole page of it, I can now use it for other cards.
Also before I throw out anything, a catalog, a calender, or a gift bag, I look at it and see if there is anything that might be useful. If I find something, I cut it out and throw it in my supply bin for later use. The rose in the first card is actually from the back of a calender.
Basically, if you don't have it, there is probably a way you can get it... you just need a little a little creativity and ingenuity.
See you here next week!
For example in the 3rd card in this post, the particular person that I was making the card for really liked the chevron pattern, and I had nothing of the sort in my stash. I went online and found a free printable: Chevron Free Printables by Mel Stampz (Thanks pinterest!) I printed it out and used it as a background. I totally loved how it came out and since I printed a whole page of it, I can now use it for other cards.
Also before I throw out anything, a catalog, a calender, or a gift bag, I look at it and see if there is anything that might be useful. If I find something, I cut it out and throw it in my supply bin for later use. The rose in the first card is actually from the back of a calender.
Basically, if you don't have it, there is probably a way you can get it... you just need a little a little creativity and ingenuity.
| Wedding |
| Boy Birthday |
| Thank You |
| Thank You |
| Thank You |
Wednesday, July 18, 2012
Card Series: Post 11- The Sharp Points
As of right now, I use a regular pair of scissors to cut my paper and shapes out. I also have some fun scissors with different edges, such as scalloped or zigzag. You can see an example of this below. This gives it little different look, and makes it not quite so square looking.
If you look closely though, my shapes are not always cut even. One thing that I would advise which I do not really have is something to help you cut straight. I do have a paper cutter, but I need to get replacement blades. I have heard of self healing mats but have yet to buy one, and I think alongside a razor or rotary blade that might be a useful tool. Another thing that might be fun would be different shaped paper punches. One thing that also seems to be popular is the Cricut machine. While it looks awesome and I've heard good things about it, I am not quite ready to invest that much into my card making. The reason I started making cards was to save money and right now I don't think I make enough cards that it would be worth my while.
Do you have a favorite cutting supply? What would you recommend?
| Father's Day - Dad To Be |
| Congratulations |
| Encouragement - God Bless Your Mission Trip |
| Wedding |
| Congratulations - Housewarming |
If you look closely though, my shapes are not always cut even. One thing that I would advise which I do not really have is something to help you cut straight. I do have a paper cutter, but I need to get replacement blades. I have heard of self healing mats but have yet to buy one, and I think alongside a razor or rotary blade that might be a useful tool. Another thing that might be fun would be different shaped paper punches. One thing that also seems to be popular is the Cricut machine. While it looks awesome and I've heard good things about it, I am not quite ready to invest that much into my card making. The reason I started making cards was to save money and right now I don't think I make enough cards that it would be worth my while.
Do you have a favorite cutting supply? What would you recommend?
Sunday, July 8, 2012
Card Series: Post 10 - Sentiment
This week's card post is in honor of mothers and fathers. Thanks to our parents for all they have done over the years! Featured are some mother and father's day cards. While I love the sayings and stickers that I use, they don't have certain occasions included. It always takes some creativity to communicate the right sentiment without the proper sayings. But with a little imagination, it's not too hard to come up with a cute card for the day.
Sometimes I have had to make cards for occasions that they don't make traditional cards for... like "good luck on your mission trip". The nice thing about making your own cards is that you can make them say exactly what you want.
| Mother's Day |
| Father's Day |
| 30th Birthday |
| Birthday |
| Father's Day |
Wednesday, June 27, 2012
Card Series: Post 9
Thursday, June 14, 2012
Card Series - Post 8: Texture
Here is this week's round of cards. I love when people give me unique types of papers and stickers. Sometimes they give me items that I may not have picked out myself but work great. Having different textures, colors, and patterns can give the card a whole new dimension. It's fun to experiment and see what I can come up with!
Stay tuned for next week's episode. :)
| Thanks |
| Thanks |
| Birthday - Brother - 30th |
| Sympathy |
| Wedding |
Thursday, June 7, 2012
Card Series - Post 7: Inspiration
Whenever I make a card for someone, I always try to make it personally for them. I try to think of their favorite color or something that reminds me of them. I use that as my jumping off point and then match different colors, patterns, and stickers until I get the right combination. I then cut things out and put it together. Sometimes I'm in the middle and decide the card doesn't look right and I have to redo everything I just did. Often times that happens when I picture an idea in my head and it doesn't materialize the way I visualize it.
What do you use as your inspiration for your crafts?
| Birthday |
| Thanks - Friendship |
| Birthday - Dad |
| Birthday - Female |
| Thanks |
Wednesday, May 30, 2012
Card Series - Post 6: The Fun Stuff
I love to use different kinds of stickers. I like to have at least one sticker that is the focus of the card. I also love my bling... I think it adds a nice extra touch.
Hope you liked this week's cards. Do you have a favorite card so far?
| Birthday - Male |
| Child Birthday |
| Graduations |
| Wedding |
| Birthday - Female |
Tuesday, May 22, 2012
Card Series - Post 5: The Basics
If you want to make your own cards, they sell packs of blank cards at craft stores. I have gotten mine from Michaels. I usually buy two sizes: the standard card size and a thank you note size. They are white and come with envelopes that fit. The big ones come in packs of at least 50, - I'm not sure how many come in the smaller size. At around ten dollars, that's a pretty good deal - way cheaper then buying a five dollar card at the grocery store. If you don't want just plain white, they also have other options, colored and patterned, but I like the basic ones so I can customize them how I want.
See you next week for more cards!
| Birthday |
| Welcome Home |
| Birthday |
| Thinking of You - Friend |
| Birthday |
Subscribe to:
Posts (Atom)