Wednesday, May 16, 2012

Card series - post 4: The Sticky Stuff

Sorry for the lack of posts, it's been a busy week.  I didn't want to forget this week's card post though. 
So here it is.... For adhesive, I have found that just a regular old craft stick will do.  I have tried other glues but sometimes you can see the glue lines through the paper. So for sturdy, smooth and invisible... just use a plain old craft stick you would  find at Michael's... but not a kids glue stick.


Welcome Girl Baby


Thanks


Thinking of You


Birthday - Husband


Happy Birthday

Hope you enjoyed this weeks post. Stay tuned for the next round of cards!

Friday, May 11, 2012

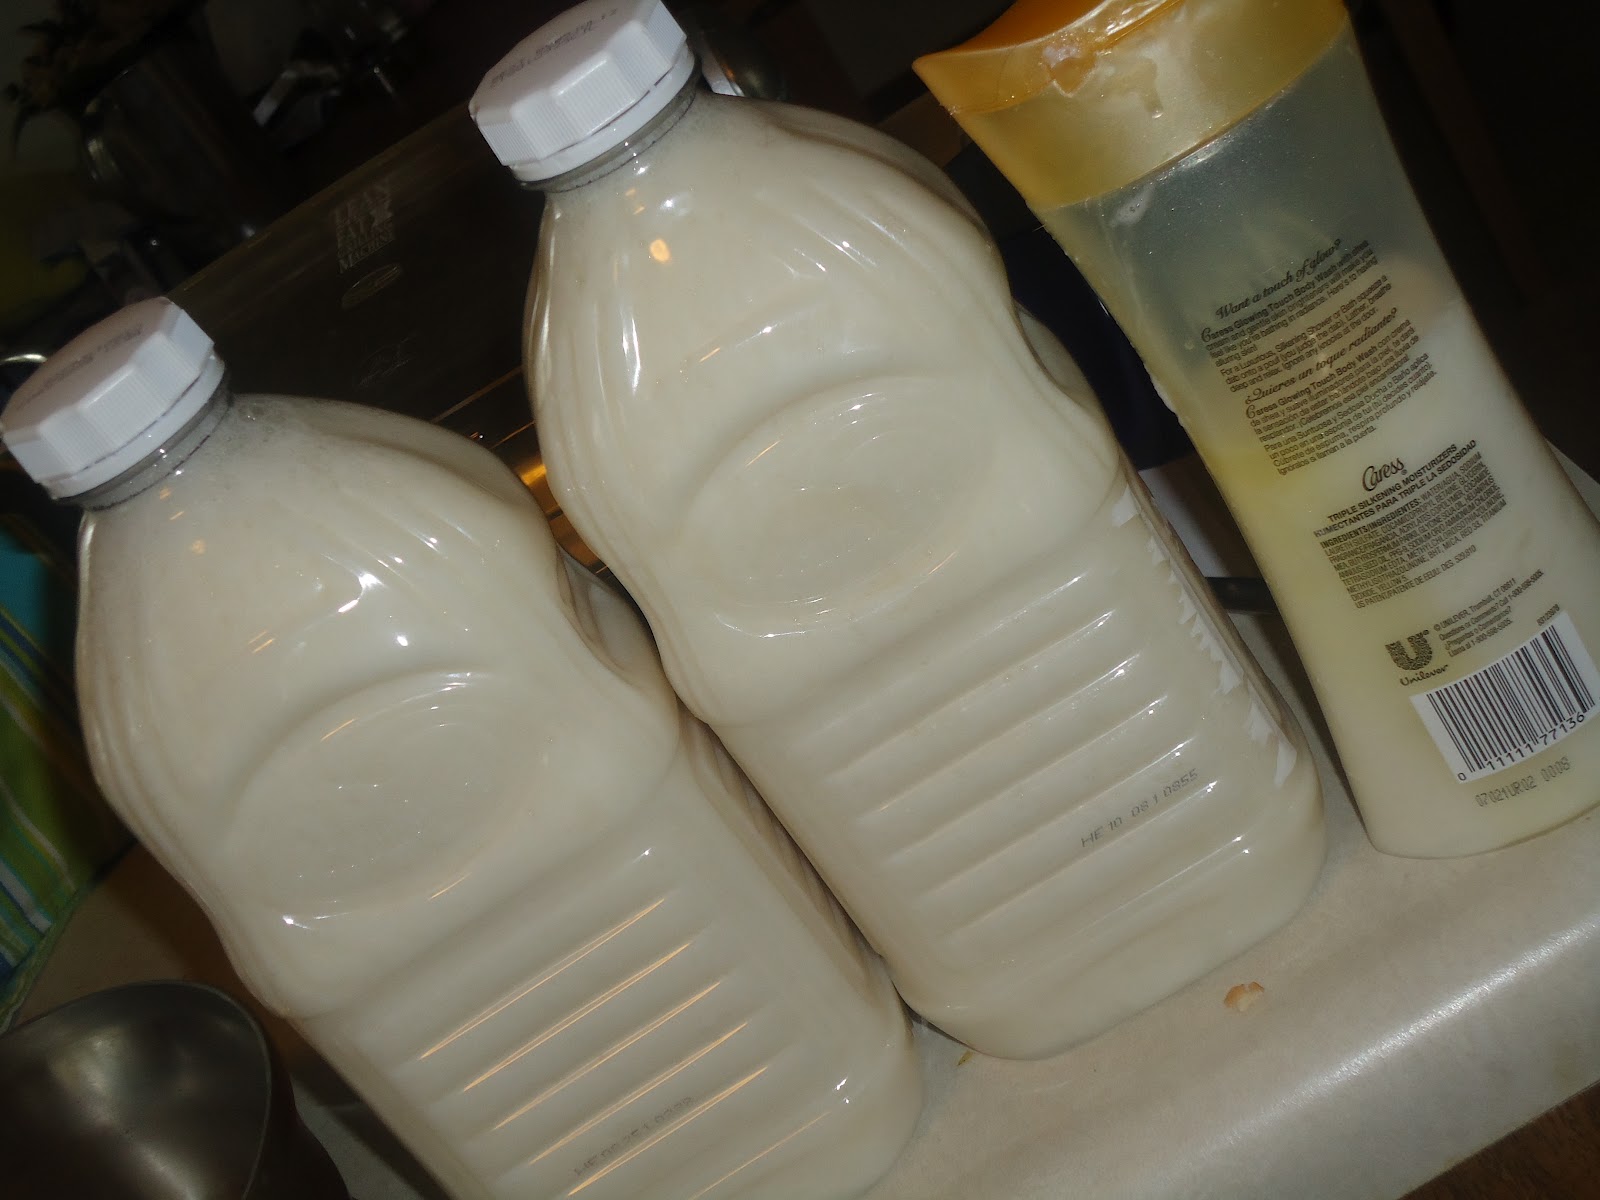
Homemade liquid hand soap

The first thing that I ever pinned on Pinterest was this recipe for Homemade Liquid Hand Soap from The Farmer's Nest .  I actually saw one of my friends post on facebook how she had tried it out and so then I checked out her pin.  I thought it would be a fun use of the soap I always take home when I stay in a hotel.  Fancy hand soap can get kind of pricey, so why not?


All you need is an 8 oz bar of soap, glycerin, and water.  Well also a really BIG pot, something to mix it with, a grater and some containers to store it in.


The only trouble I had was finding the glycerin... I went to my local grocery story,... they had glycerin suppositories (NOT what you want), and apparently my local Walgreens stopped carrying it.  I ended up borrowing some from my mother-in-law... but next time I will try Michaels or Joann's.  Maybe I'll have better luck there. 


It turned out pretty well, though it does have a slightly weird consistency... kind all stays together, which helps when you're trying to pour it into containers with small openings.  I would maybe recommend a funnel.  The other thing I noticed is that the water sinks to the bottom when you store it but just shake it up before you refill your pump containers and you should be good.  It makes a LOT of soap, so pick a scent you like and have fun!

Wednesday, May 9, 2012

Sleep Sack - Zipper FAIL

I attempted to make a sleep sack awhile back.  I looked at our sleep sack and thought - 3 pieces, that can't be that hard.  ha!   The sleep sack itself wasn't that hard.  The zipper on the other hand beat me.  I had never done a zipper before...  I watched some videos, read a few tutorials... looked easy. was easy. ..however... once I sewed it on, I tried unzipping it and then I found out what I did wrong.  The end that I wanted to come apart didn't... can't really put a child into something that can't open.

 Lesson that I learned:   ALWAYS try using your zipper BEFORE sewing!  Also pay attention to what KIND of zipper you buy.. they are not all alike.

Well, it wouldn't have been that bad, use the seam ripper and redo it.  However, I had made the project out of an old t-shirt that way if I messed up nothing would be lost... however... such an old t-shirt that the material ripped when I tried to undo it. When I tried sewing the zipper on the part that wasn't ripped, it was all crooked and totally not functional.  So I have to start over with new material... I'll post when I actually complete the project right.

Good news is... I got to practice my applique and learned what NOT to do when sewing a zipper. 


Tuesday, May 8, 2012

Card Series - Post 3: The Sayings

As my card making has evolved, I have found that my favorite stickers for phrases and sayings is by K & Company .    It is a product called Card Quotables .   They used to have a whole bunch of different sticker packs, but then Michael's stopped carrying them, and now online they only sell their  'All Occasions' and 'All Occasions 2'.  They used to have 'Birthday', 'Girlfriends' and a whole bunch more - so sad.  I will continue to order these online until they either stop making them or until I find something better.  The reason I like them is that they are clear, so I can put them on top of different colored paper, it mixes things up, and it makes it easier to coordinate with the rest of the card.  They also don't really look like stickers, so I feel like it gives my card a little bit more of a professional look. 


Birthday


Sympathy


Child Birthday


Thinking of You - Love


Thinking of You - Sympathy
Hope you enjoyed this week's card post!

Monday, May 7, 2012

Flowers in the Sunshine Dress

After sewing the tunic for my daughter, and refreshing my memory on my sewing skills,  I thought I would try my hand at making a dress without a pattern.  I look at a lot of clothing and think "I could make that!".  I think sometime I might be right and others, ... well, it just might be more difficult then I think.  

My mother-in-law made my husband and I a quilt which had a fabric in it that looked just right for a little summer dress.  I went over to see if she had any of it leftover, and I was in luck - she did! 

I had an idea in my head, just a basic sundress with a sash.   I wanted to add piping, and I wanted the yellow fabric to be on the back also.  Part of the reason for this was that I was trying to make the dress larger because I only had a limited amount of the blue fabric. 

I first traced around a twelve month dress she already had to get the basic shape and size.  Then I cut out the pattern the way I wanted for the front and back pieces.  Next I cut out my fabric and my lining for the bodice. 


I sewed the pieces together at the shoulders , then sandwiched in the piping, though I like to sew on my piping to one piece to hold it secure before I sew the layers together.  I sewed it all together, leaving a place to turn it inside out.


I then made strips of cloth that would be topstiched to the bodice. 


The front piece I decided I wanted to be a little different so I made three horizontal pleats.


I then made my sash pieces, pinned everything together, the sash pieces sandwiched in between.

  I sewed the sides together and had a very structured top piece.  I forgot to take a picture of that step :(   I actually had to redo it because when I tried it on my little girl, I had made the back pieces overlap too much and it was really hard to get on and off.  Here is a picture of it after I attached the skirt.  Just pretend that the skirt part isn't there yet. 

Then I used a rectangle for the skirt- which I actually pieced together because of the limited amount of fabric I had - I made the rectangle into a tube, gathered and attached it by topstiching again.   This was kind of a difficult step.  It was a lot of layers and being gathered, it was hard to tell if it was even. I topstiched it on the top of the yellow piece and the bottom of the yellow piece so it would be secure. 


I then did my button holes and sewed on the buttons.  I don't know what happened here, but it didn't come out quite straight.  I guess that's what happens when you just eyeball instead of measure.  Lesson learned.


The last step was hemming and I was done!   I think it came out rather well, however, I did learn a lot, and there were maybe ways I would have done things slightly different to make it easier, but overall I'm pretty proud of it. 

Now the one flaw is that I think it's more of a 2T or maybe bigger.  I was so paranoid about making it and then it being too small that I made my pattern a little extra big and then when I was cutting it, I even cut a centimeter or two bigger then the pattern.  I also made it longer because I figured I could always make it shorter but not longer... it ended up being really long.  Oh well, at least it will fit her for a while.  :)

Here is her eyeing me when I first put it on her... but then I get a nice smile, so it can't be that bad.


Here is a picture of the back of the dress as she's trying to crawl away from me.  It's kind of hard to get a good picture of a ten month old.  There are so many fun things to explore. 


I think she's happy with it, what do you think? 


Bring on summer!
Related Posts Plugin for WordPress, Blogger...